Set up
Step 1: Choose Your Languages
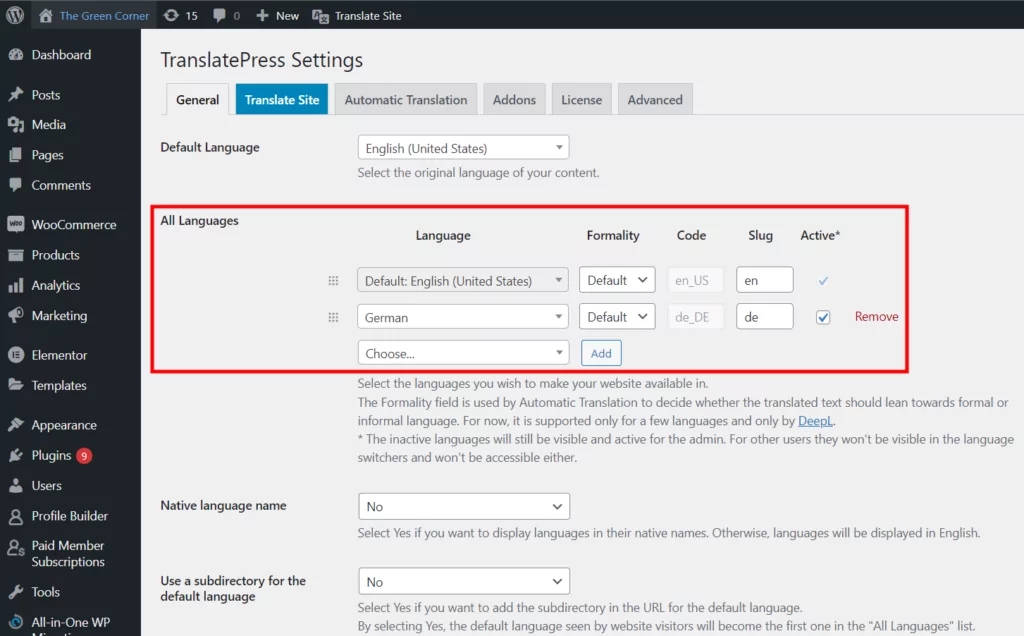
Next, head over to Settings → TranslatePress to configure some basic options.
In the General settings, you can choose your default language and the additional languages you want to translate your content into. As you can see below, I’ve added German.
Step 2: Customize the Language Switcher
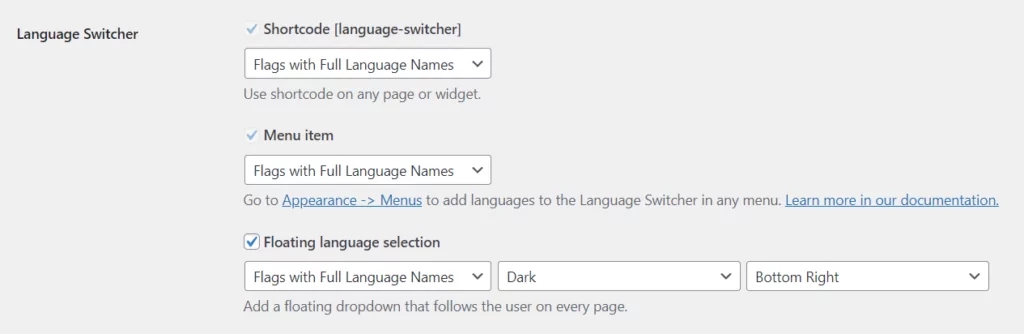
By default, TranslatePress adds a floating language selection switcher button to the front-end of your site. It allows visitors to switch between the different languages you’ve set.
You can customize how the language switcher looks, with options for full and short language names, flags, and a combination of both.
Step 3: Choose How You Want to Translate Content
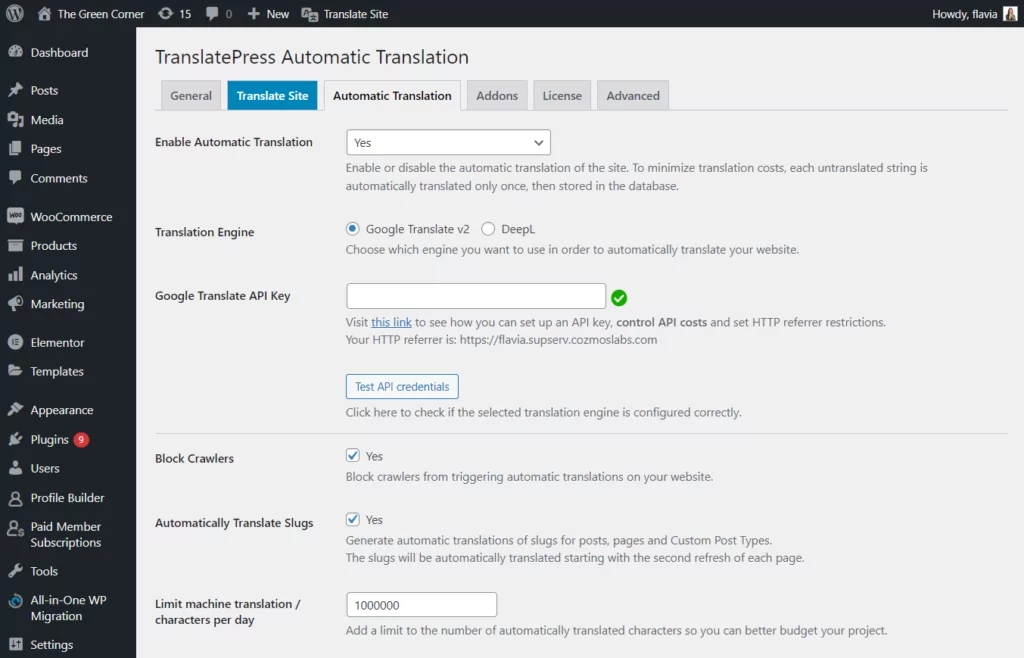
If you want your content automatically translated, the Automatic Translation tab lets you choose whether or not to enable machine translation.
If you choose ‘yes’ you’ll need to get a Google Translate API key to connect to the service. There’s also an option to use DeepL Automatic Translation with the premium version of TranslatePress.
When you hit ‘Save Changes,’ the plugin will go ahead and translate your site the next time you or a visitor chooses another language.
Last updated